Painting Miniatures: 3 Techniques Every Beginner Mini Painter Should Know
Getting started painting minis can be overwhelming as there are tons of information out there on different mini painting techniques, but it is nearly impossible to know which ones are the easiest and most impactful to make your minis tabletop-worthy.
That being said, let's simplify things and focus on the 3 techniques that definitely every mini painter should had in their toolbox when they get started.
Before we get started there are two things that we assume you've already done:
1- you already primed your miniature
2- you're using a wet palette
If you don't know what a wet palette is, we have an amazing review article entirely on this topic showing three excellent wet palettes on Amazon. So if you haven't checked that one out yet, you can check it here right after you learn these 3 techniques

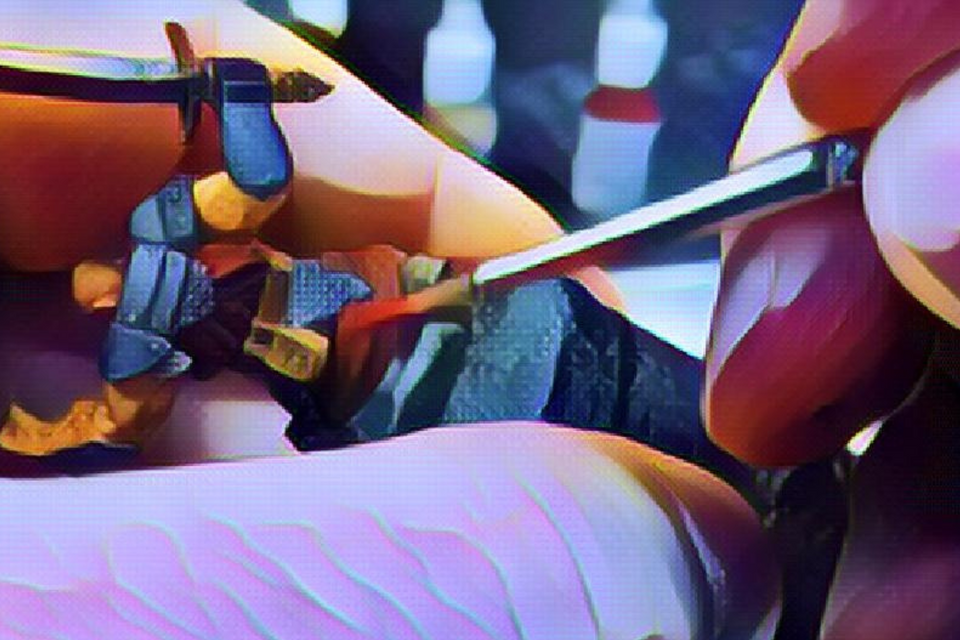
Number 1: Base Coating
A base coat is crucial for a smooth, long-lasting paint job. Not applying a proper base coat is pretty much like building a house without a foundation.
To make sure that you have smooth transitions and great coverage, the base coat is required.
Use a bigger brush for better coverage and, in case you're using a wet palette, the paints will be a little bit thin down, so sometimes you might have to go two or more layers to make sure you get full coverage.

Number 2: Washing
Washes are a great way to add depth and contrast to your miniatures. They have a longer drying time than regular paints, which makes them more workable.
If you notice that the wash is beginning to pull too much in certain areas just go ahead and take your brush and begin wicking it away moving it to other similarly colored areas in the model.
You can use multiple different colored washes for important characters or monsters. For rank-and-file minis, you can apply just a single tone.
Once the wash has dried, you can go back with your original base coat and apply a highlight, leaving the wash in the recesses only. This is a simple way to make your models pop on the tabletop.

Number 3: Dry Brushing
Dry brushing is a great technique for beginners, but it can be used in so many versatile ways.
Some painters use a dry brush to add highlights quickly. This is a great technique for highlighting fine features on miniatures with a more general shape. Different ways of dry brushing include using brushes specifically made for dry brushing or cheaper makeup brushes.
You can also do it with old regular paint brushes that you use for miniatures but once you start dry brushing a miniature using a brush, the brush pretty much gets ruined for details because the bristles start pointing in all kinds of different directions; So our recommendation is to use a brush that's already destroyed or one that's specifically made for dry brushing.
To create a raised edge highlight or shadow on your miniature, load paint onto your brush and then remove any excess paint by wicking it off onto a piece of paper. Once the brush is mostly dry, you can start brushing on the desired area.
Dry brushing is a good way to get paint into all the recesses and folds of your model. Make sure the brush is very dry before painting to avoid weird excesses of paint.
These 3 techniques should be more than enough for you to have a tabletop-worthy model that will look great and will help you build up momentum and confidence to keep learning how to become a better miniature painter, that being said, until next time!

D'Artisan Shoppe Miniature Paint Brushes
Miniature Paint Brushes Detail Set. Thin Paint Brushes for Miniature Painting. 12 pieces