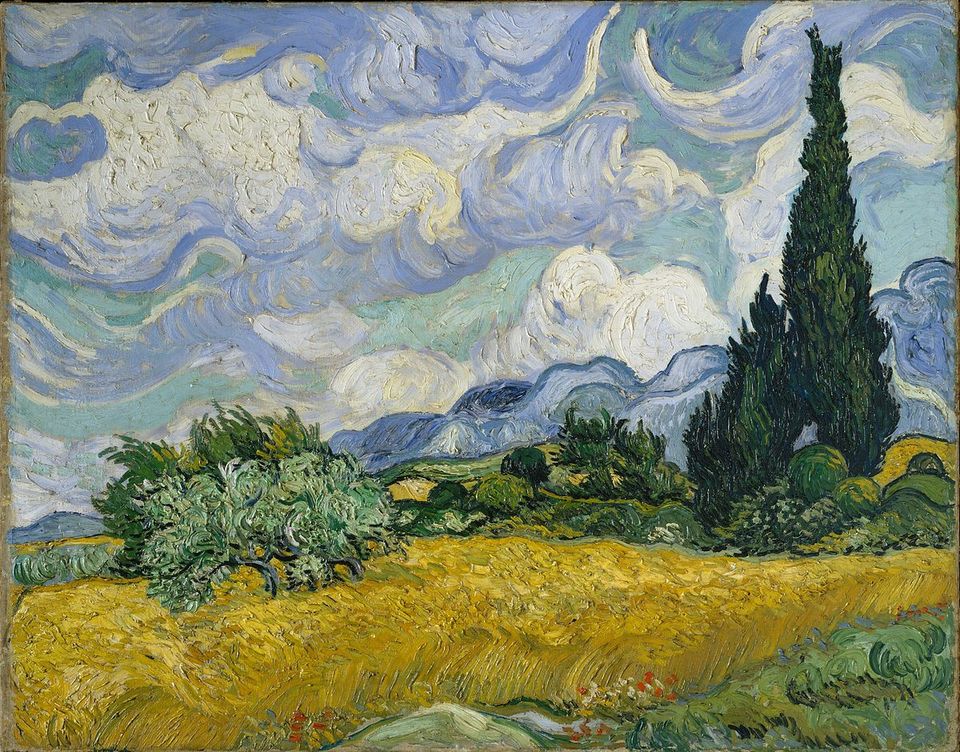
How to Paint Clouds

Painting clouds can be a fun and creative way to practice your painting skills.
Here is a step-by-step guide to getting started:
1. Start by gathering the materials you will need. You'll need some paints, brushes, water and paint thinner, paper or canvas to work on, pencils and an eraser.
2. Draw the outline of your clouds using a pencil. Make sure to create different sizes and shapes, so that you can practice creating variation when painting them in.
3. Start by mixing your paints together until you have created a light shade of blue, which is usually used for the base color of clouds. Depending on the effect you want, you can experiment with different shades and combinations.

4. Once your base color is ready, start painting in the clouds using a wet brush for a softer look or a dry one for more texture. You will want to use light strokes when applying the paint to achieve a “fluffy” look, and use your eraser to clean up any mistakes.
5. When you are happy with the shape and color of your clouds, start adding more details. Try adding shadows by mixing in a darker shade of blue or gray. You can also add highlights by mixing white paint into the lighter shade of blue that you used for the base color.
6. After you have completed the painting, use a cloth or paper towel to wipe away any excess paint. If you need to make any further adjustments, use a damp brush and water to blend the colors together.
And Ta-Da! Now you know how to paint clouds like a pro – let your creativity go wild and enjoy the process! Good luck!
Mostly important, create your own style!

D'Artisan Shoppe Professional Brushes
15PCS: 4 natural hog hair bristle brushes and 11 synthetic bristle brushes

